I'm 'helping' one of my grandsons restore his 1967 Century 100, and would be grateful for a brief outline of the sequence for stripping it down. In particular, how we separate the engine, gearbox, exhaust and prop shaft tubes. We have freed the clamp where the prop shaft tube goes into the gearbox and removed the clip at the top of the exhaust tube, hoping that the components would then separate, but they won't. This crucial stage appears to be missing from relevant Youtube videos. Any tips on the best way to proceed without causing any damage? We have heat available, which was necessary to free the tiller (having removed the tank and carb) and the lower clamp.
Possibly relevant to this, there is what appears to be a small indent near the top of the exhaust tube (it was underneath the clip). Does this position the tube by sitting in a hole in the exhaust outlet/port?
Thanks
John
Century 100 strip-down sequence
Moderators: John@sos, charlesp, Charles uk, RickUK, Petergalileo
-
Eastern Counties
- Posts: 9
- Joined: Fri Sep 19, 2014 9:34 pm
- Location: North Norfolk
Re: Century 100 strip-down sequence
You have the possibility of it being held together in two places, the exhaust is not held at the bottom, but the water feed tube maybe, this runs down inside the exhaust and just plugs into a hole and is sometimes problematic, but which is much more of a common problem, the drive tube will rust and be stuck to the crank as well as the gearbox, its quite a common problem.
Heat will not help, as you cannot get to it, plus you will have a plastic impeller, above the gearbox.
Mount the motor and use a soft hammer or wood to tap down to remove the shaft, it will normally come away from the crank first, a wiggle will help, but don't over do it otherwise you may flare the end of the square tube, the less damage you do to the aluminium parts the better.
-
Eastern Counties
- Posts: 9
- Joined: Fri Sep 19, 2014 9:34 pm
- Location: North Norfolk
Re: Century 100 strip-down sequence
Thank you, KeithP.
Is the best place to tap downwards the top of the gearbox, in between the exhaust and drive tubes?
And, while doing this, is it OK to support the outboard using its transom mounting, or better for somebody to hold it?
Is the best place to tap downwards the top of the gearbox, in between the exhaust and drive tubes?
And, while doing this, is it OK to support the outboard using its transom mounting, or better for somebody to hold it?
Re: Century 100 strip-down sequence
If you have some wood that you could use between the drive tube and exhaust, top and bottom, that would be a good option, you will need to remove the carburettor.
You can use the transom mount, I have, but take in to consideration that they are somewhat flexible.
You can use the transom mount, I have, but take in to consideration that they are somewhat flexible.
-
Charles uk
- Posts: 4954
- Joined: Wed Feb 27, 2008 4:38 pm
- Location: Maidenhead Berks UK
Re: Century 100 strip-down sequence
Have the nuts holding the drive shaft tube to the crankcase been removed?
Make it idiot proof and someone will make a better idiot.
-
Eastern Counties
- Posts: 9
- Joined: Fri Sep 19, 2014 9:34 pm
- Location: North Norfolk
Re: Century 100 strip-down sequence
Thanks again, KeithP. We'll give it a try. I'm concerned about damage. Would be happier with something like a small jack expanding between the pieces of wood, but don't think there's enough room.
And yes, Charlesuk, the nuts have been removed.
And yes, Charlesuk, the nuts have been removed.

Re: Century 100 strip-down sequence
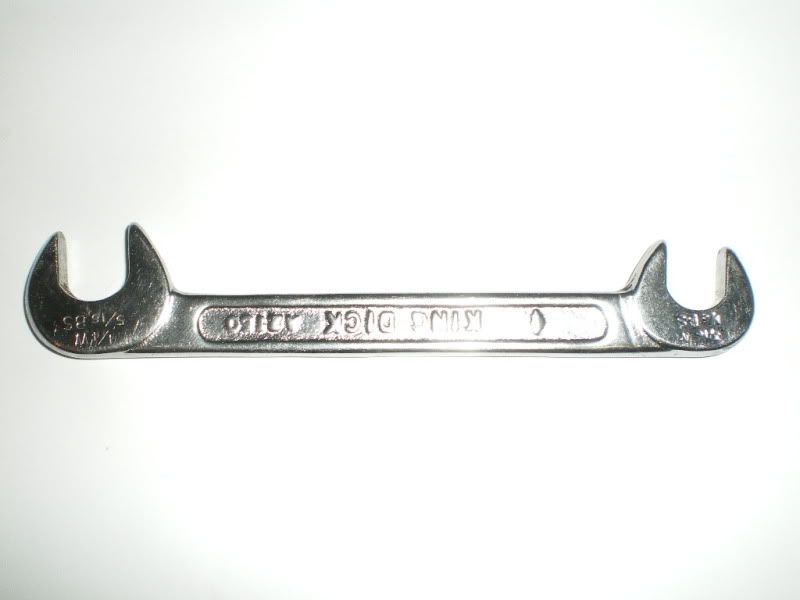
You will need an obstruction spanner to get to the two nuts holding the top of the driveshaft nut on.

Re: Century 100 strip-down sequence
Another thought. Where the drive tube goes into the water pump housing you need to do more than loosen the bolt. The clamp needs to be opened up a tad. Easiest way is to remove bolt and thread in from the other side (threaded side). Place a coin or similar into the gap and screw the bolt against it opening up the clamp. It may well then tap off in the manner Keith described.
-
Eastern Counties
- Posts: 9
- Joined: Fri Sep 19, 2014 9:34 pm
- Location: North Norfolk
Re: Century 100 strip-down sequence
Great tip about opening the clamp up a bit, Hugz. Thank you very much. Will give it a try when I'm next at my grandson's, next week.
I'm sure that will work, and thinking about it, if it's still too tight to free with a gentle tap, I could always block out between the block and the gearbox with lengths of wood with a pair of folding wedges in between to ease it apart.
I'm sure that will work, and thinking about it, if it's still too tight to free with a gentle tap, I could always block out between the block and the gearbox with lengths of wood with a pair of folding wedges in between to ease it apart.
-
Eastern Counties
- Posts: 9
- Joined: Fri Sep 19, 2014 9:34 pm
- Location: North Norfolk
Re: Century 100 strip-down sequence
Well, we did manage to split it in the end, but it was a bit of a struggle.
Your trick with the bottom drive tube clamp worked a treat Hugz, but the next problem was that the water transfer tube was seriously stuck/corroded in the pump. A combination of a long piece of wood, folding wedges and a lot of wiggling finally did the trick, although the bottom end of the exhaust tube/silencer is still refusing to shift.
Thanks you all for your help.
Were the gearboxes originally painted silver?
Re: Century 100 strip-down sequence
Pretty much everything was polished up to the mid fifty's and then painted after that.Were the gearboxes originally painted silver?
-
Eastern Counties
- Posts: 9
- Joined: Fri Sep 19, 2014 9:34 pm
- Location: North Norfolk
Re: Century 100 strip-down sequence
Thanks, Keith.P.
As you can see from my previous reply, the water feed tube was the problem - as you suggested might be the case, earlier.
Unfortunately, I damaged the flange on the rear of the water pump housing, so will have to replace it now.
As you can see from my previous reply, the water feed tube was the problem - as you suggested might be the case, earlier.
Unfortunately, I damaged the flange on the rear of the water pump housing, so will have to replace it now.