Everything seems to be present, apart from the induction silencer/choke body that ought to screw onto the Amal 2 jet here:

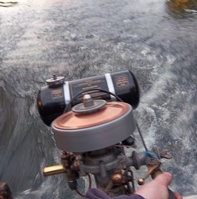
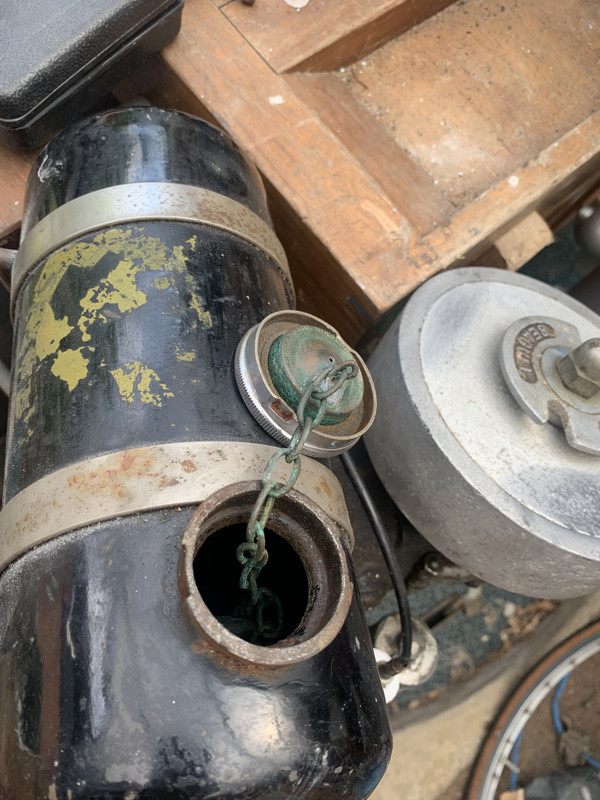
The tank filler is not one that I have seen before; it looks like a motorcycle type, made by Ceandess Ltd,Wolverhampton. It is nicely made but it looks as if the filler tube is mild steel soldered onto the brass tank, which is seldom a good plan in the marine environment! The filler cap can be closed completely or if given a quarter turn it pops up thanks to an internal spring and the breather can operate. To open the cap, press down and give it a full half turn. A more elegant design than the separate breather screw.
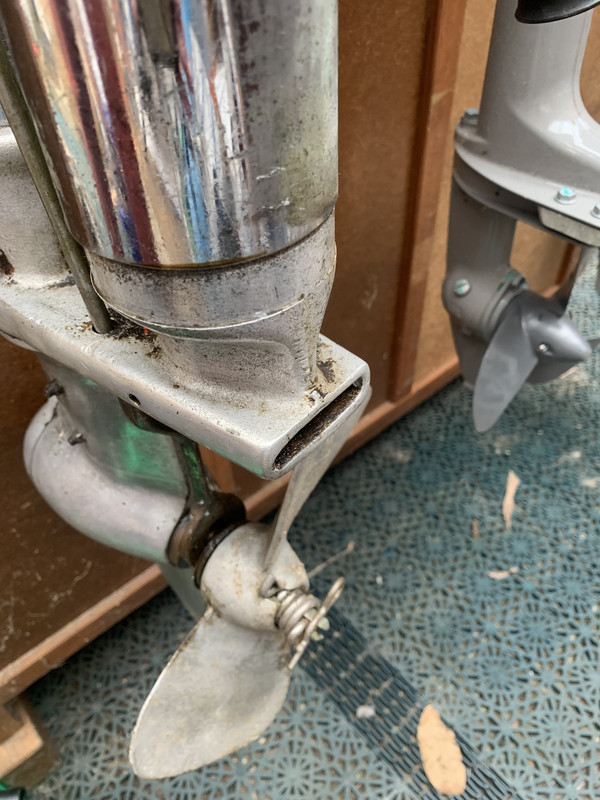
It is impossible to tell which way the seagull was facing:
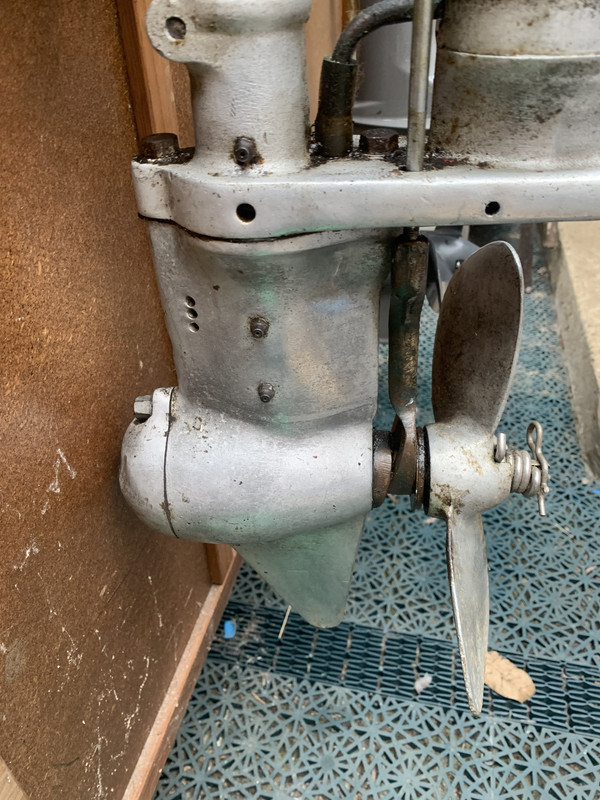
There are two grease nipples on the gearbox, and of course a bow tie propeller.
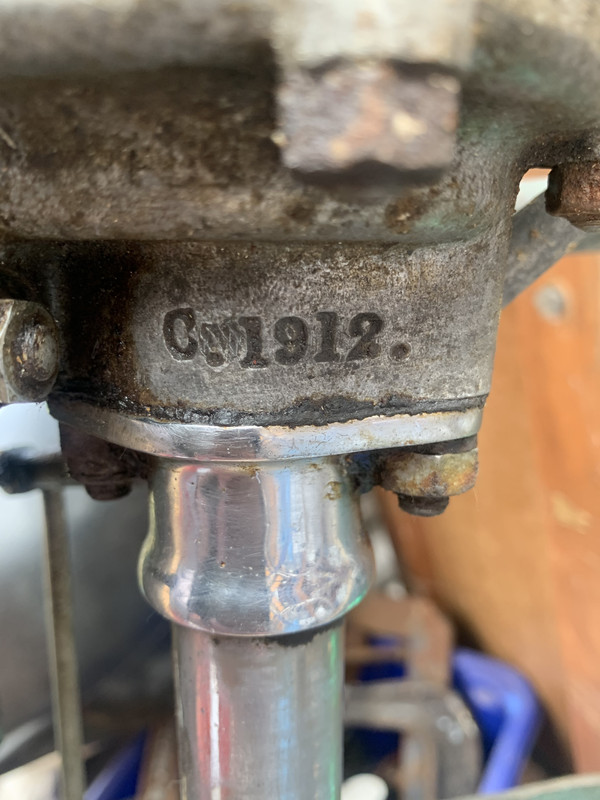
Sadly whilst I hoped that it might claim to be “The best outboard motor in the world”, it makes no claims at all!
It turns and has some compression. I am going to start by cleaning it.